Making bone Sauce
Tiger Hill Farm is situated in the Southern Midlands in Tasmania and is set amongst 10,000 acres of mixed private forestry and crown land. The farm is 70 acres in size and is home to Tiger Hill Permaculture, a registered primary production business and private farm forestry project. The long term vision is to align with the Master Plan in a Permaculture context and create an educational community demonstrating sustainable agriculture and self-sufficiency via Permaculture Design.
Having been on the property now for 4 years and taking into consideration the effects of everything I do on the land, I have observed closely the local environment. As I am funding the project solely from a salary income, I have weighed up numerous options for a multitude of small to large projects on the site in the hope to create cost effective solutions to my design strategies.
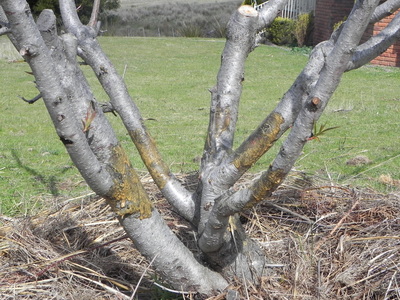
When I first took over the farm, there were several apple trees, peach trees and a plum tree growing. These trees were doing ok as they had been well tended by the previous owner and for the first couple seasons under my tenure they bared fruit. As I work away a lot and at times have to spend extended times away working overseas, the trees became a little neglected and Possums made regular visits to eat the leaves and fruit as well as break branches and soon they were no longer producing at all. The property is mainly pasture along with some forest stands and a host of wildlife including Wallaby, Wombat and native rats are in abundance as are the Possums. The Wallabies don’t pose an issue but the native rats do eat the fruit and are not a real cause of concern.
The feedback loop I got from this was that the previous owner having had a dog on the farm full time may have kept the Possums at bay.
I continued to observe the trees and continued to go thru the process of what if I did this or that. With limited budget, I considered the following.
1.Get a dog. This is the easiest solution. The only problem is I still work away to fund the project and who will look after the dog.
2. Fully fence the entire house envelope with poles netting. This would be great and would the system would also protect free ranging chicken in the future from Wedge Tail Eagles. This however is a very costly strategy as well as requiring a huge amount of labor to install.
3. Fence the entire house envelope with floppy fencing or similar. This is practical, as I did need to replace the existing fencing around the perimeter in due course, but also a costly exercise.
4. Install individual floppy fences around each tree. This is a good one but requires a reasonable amount of maintenance and infrastructure to make it work well as the trees are planted randomly within the housing envelope.
5. Install floppy fences and backed up with electric fence. Again, some infrastructure is required and as I do the majority of the work on the farm myself, I would be continually buggered maintaining it.
Heavy duty galvanized chicken wire runs in at about $180.00 for 100m x 1.2m x .4mm. High tensile ring lock is a bit more expensive and I would require to use both for the perimeter of the housing envelope to deal with Wallabies as well. My house envelope perimeter is approx. 400m and at some time I will need to do this but only as funding is available.
Recently I watched a YouTube video where Zepp Holzer, of the Krameterhof in Austria, was making a concoction from bones cooked in a cast iron pot that repelled wildlife from eating his trees for up to 10 years. I saw this as pure gold and possibly the answer to my problem as shooting Possums is illegal in Tasmania and I want a human solution that fits with my Buddhist and Permaculture ethics. I watched the 8-minute clip and it seemed so simple. I have to acknowledge Zepp’s efforts though as it may not have come as a fleeting thought as he is such a deep thinker.
I weighed up the pro’s and cons of recreating this video message to make the sauce on site. It seemed straightforward but I am not fully sure of the science of the whole process yet but if Zepp says it good than that’s good enough for me. I thought this was by far the cheapest alternative to my many other thought processes. If I could make the same sauce, it would also reduce the amount of labor I need to maintain the trees considerably. This would then allow the trees to recover from the Possum onslaught and allow some further time to save toward a more secure solution. As the house envelope is my Zone 1 and 2 and the area is intended for more intensive garden systems the fence is definitely a needful in the near future
I set out to make the sauce as well as filming the process as an educational tool with the assistance of Anders, a volunteer from Denmark enrolled in the Workaway program (similar to Wwoof). Anders was very instrumental in editing the final product to put onto YouTube and as well as being great sounding board to help problem solve any issues that we could address. I have a steady stream of volunteers come to help and they are all so keen to learn new things and help work towards my vision of this project.
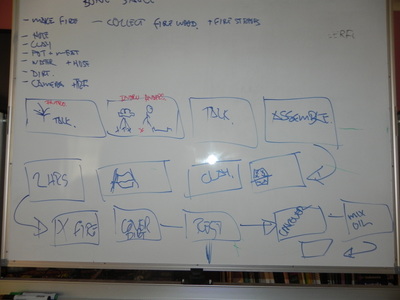
The making of the video was my first attempt at filming in front of the camera for video documenting on the farm so we created a plan by making a story board and creating the steps of what we would do and say. I’ve seen some pretty ordinary B grade movies in my time, so I figured it can’t be that hard. This was a great learning experience for both Anders and myself as it was the first for us both to do the filming and editing of a complete shoot. We have both remained grounded and the minor celebrity status has not changed us.
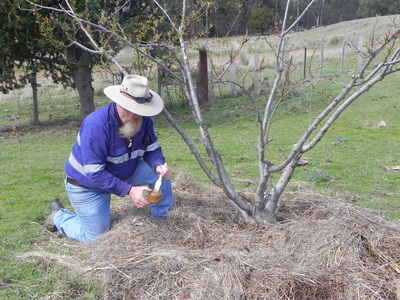
After making the sauce, it was applied to some trees. Some say to apply the sauce during the dormant stage of growth in Autumn. We applied it at the start of Spring. This was purely to get it on so any new growth may be protected. We will see in time if it has been positive or negative.
What you need for bone sauce:
2 x even sized pots (any capacity, cast iron preferably)
Approx. 1/8th liter of water
bones (enough to fill one pot)
Small gauge wire mesh (cut to a bit larger size as diameter of pots)
Clay (to seal between two pots
Fire starter (matches or lighter)
A quantity of firewood for continual burning for up to 2 hours
A quantity of loose dirt
Shovel
Broom
1- 2 jars, depending on final result quantity
Paint brush
Method
Choose and area where wind will not present a problem when lighting a fire.
Select pots. (We used 2 x 10 liter cast iron camp ovens) Remove handles and lids.
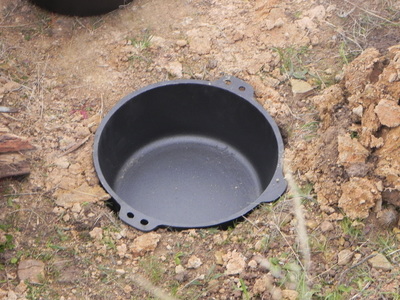
Dig a hole to suit the outside diameter of the pot. A snug fit is best. Dig the hole so the pot sits on the base of the hole with at least 20mm of the pot protruding from ground level. Level the pot as best as possible.
Pour in approx. 1/8th liter of water.
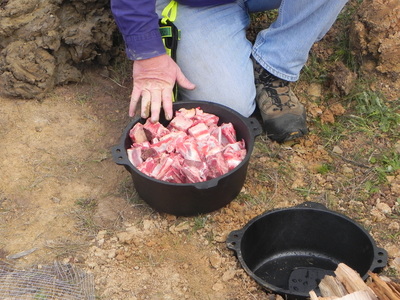
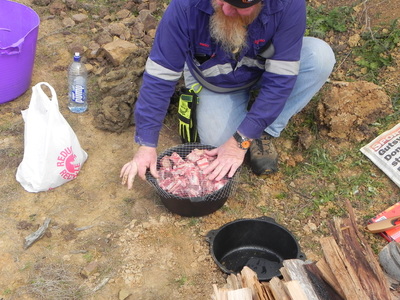
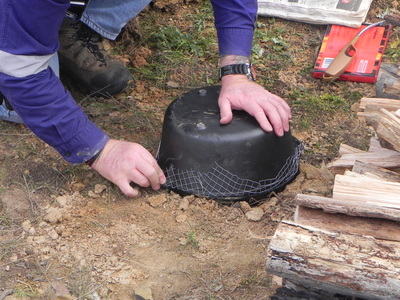
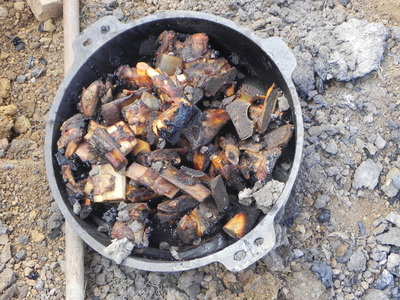
Add bones into the second pot, and pack firmly down. Take the precut wire mesh and cover the second pot. Bend the edges of the wire mesh to hug the outside contours of the pot. Then carefully invert the pot and place it atop the first pot so both pots are joined evenly.
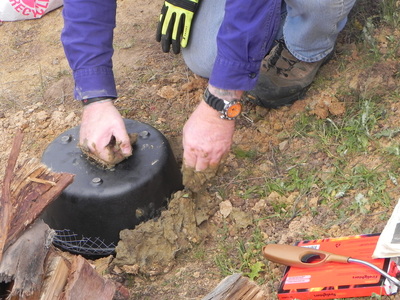
Take the clay and mold it around the join of the pots with approx. 20mm overlap from the join with a 20mm thick layer all around ensuring clay adheres to the pot and is pressed onto the join of the pots.
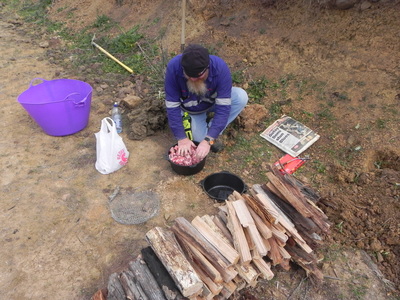
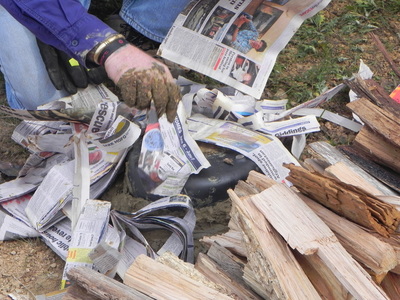
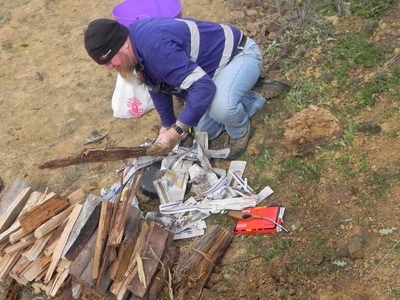
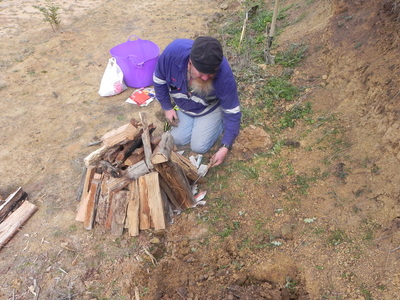
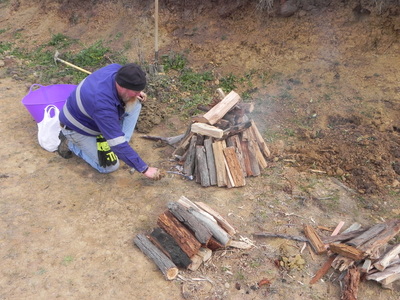
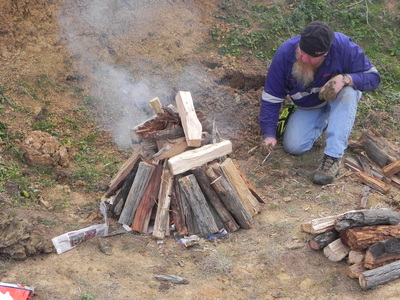
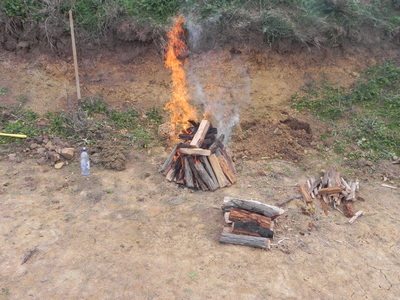
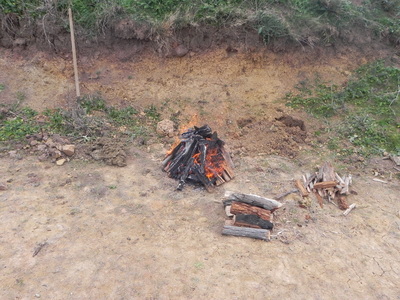
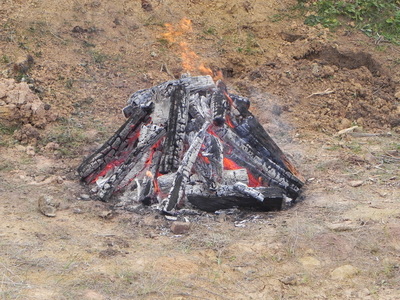
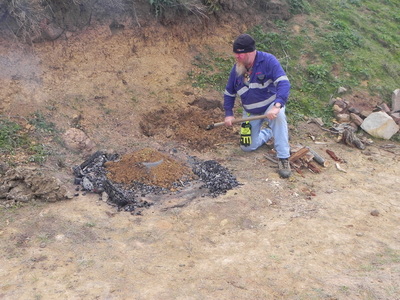
Then create a teepee structure with the firewood over the entire pot. Use some kindling to help with starting the fire. Once the firewood is stacked, light the firewood and let burn for 2 hours. Replenish the firewood as it burns down, continually tending the coals to keep the pots covered. After approx. 2 hours of burning, clear away the coals and remaining firewood and cover the pots with dirt in a mound like shape with an even 150mm layer all over. Pack down the dirt with shovel taking care not to disturb the pots.
Let the pots rest for 24 hours and bake residual heat in the mounded dirt.
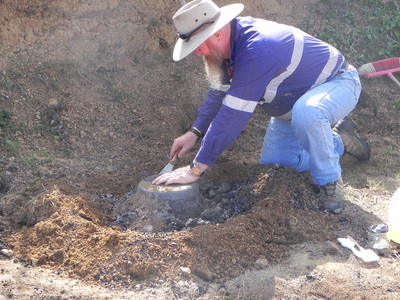
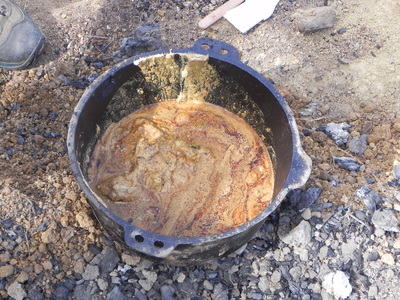
After 24 hours, carefully remove all the dirt from around the pots. Be careful not to disturb the pots seal of clay. Once the dirt is fully cleared away, broom away and loose dirt. Then chip away at the baked clay and fully remove it from the pots seal. Once removed, broom away any further loose dirt to avoid dirt entering the pot chamber. Then carefully lift the top pot off from the bottom pot. Put top pot aside as it is no longer needed. Inspect the contents of the bottom pot. This is the remnant of marrow, meat and fat. It could range from dark to light colored sludge. It should smell awful.
Pour contents of bottom pot into jar for storage and take care not to spill any on clothing, as the smell tends to stay with you.
On reflection of the exercise, we could have burnt the fire for longer to render down the sauce further as it did not quite look like the sauce in Zepp’s video. We may not have considered that pine timber (may have been use in Zepp’s video) burns hotter than blue gum and stringy bark like we used. Nonetheless, it is similar to other results I have seen since. We might be on a winner. We will observe the trees in the future and see what the Possums do. As this is all research, we need to try and retry until the results are conclusive. There could be a few late nights.
We are eager and getting ready for our next filming gig on the farm.
