Installing Drip Irrigation
Earlier in the year , about January, I invested in 700m of 65mm Blue Line rural poly and a host of joining and reduction fittings to get gravity fed water from a dam which I have a water easement to. We planned to run an earthworks course in February and water was need at the bathhouse and to several other locations on site in the future. This was the start of phase 1 of a bigger irrigation plan for the site.
With this readily available source tapped into it meant we could irrigate the kitchen garden, fill rainwater tanks during drier periods and assist with fire fighting when needed around infrastructure. It was also going to be possible to fill the dam once completed after the earthworks course.
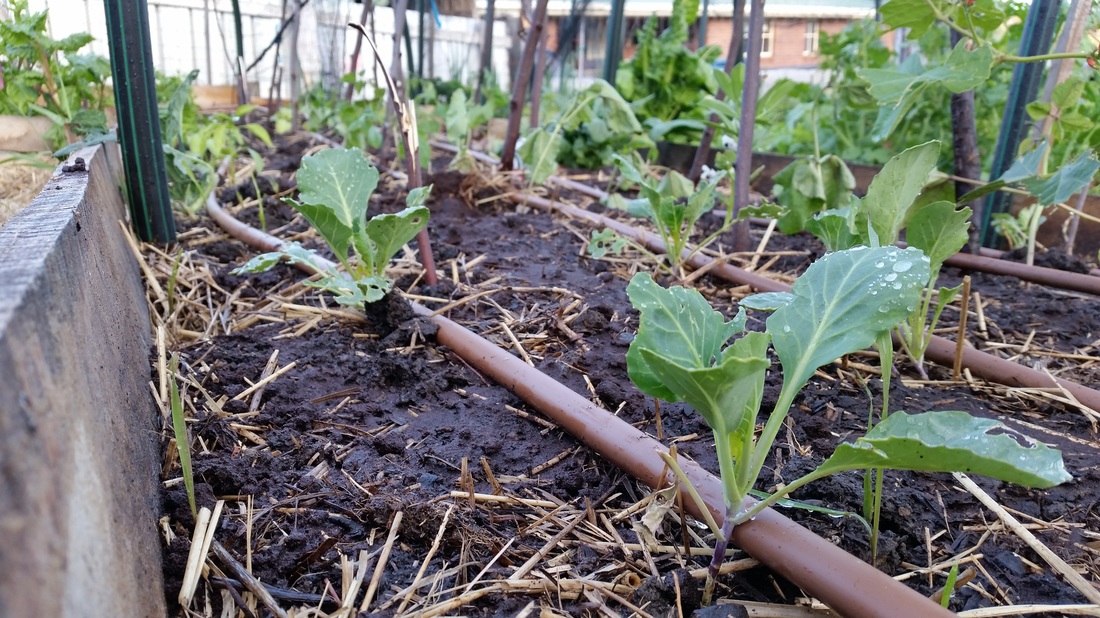
As I work away to fund the project, there are periods when there is no one to manage the 250m2 kitchen garden and water the plants so I decided to make the whole system less labor intensive and make it possible to have a more successful and productive harvest from the garden. Plants weren’t getting their fill without a drink for 2 weeks at a time and aerial sprinklers were ineffective.
I started to plan out the plant spacing and garden bed lengths to then start pricing the materials. I found by buying 200m of Netafim drip irrigation at a time more cost effective than smaller quantities. Currently I am on the third 200m roll as the garden has been expanded considerably. The Netafim product comes in various diameters but I chose 12mm with dripper spaced at 300mm. I then had to consider how to join this all together. I started to search online for the best deals and found an irrigation supplier in NSW that could supply T, elbow, 90deg and clip fittings for about 1/3 of the price that Bunning’s or Mitre10. I ordered 400 pieces of the above fittings and 400 clips and surprisingly it amounted to less than $150 including postage. I also found that creating a trade account at the irrigation supplier, I was entitled to approx. 50% discount which makes it really affordable to implement this type of system. A valuable lesson learned is to have all the required resources on hand to complete a plan as well as surplus left over for maintenance and any tweaking of the system.
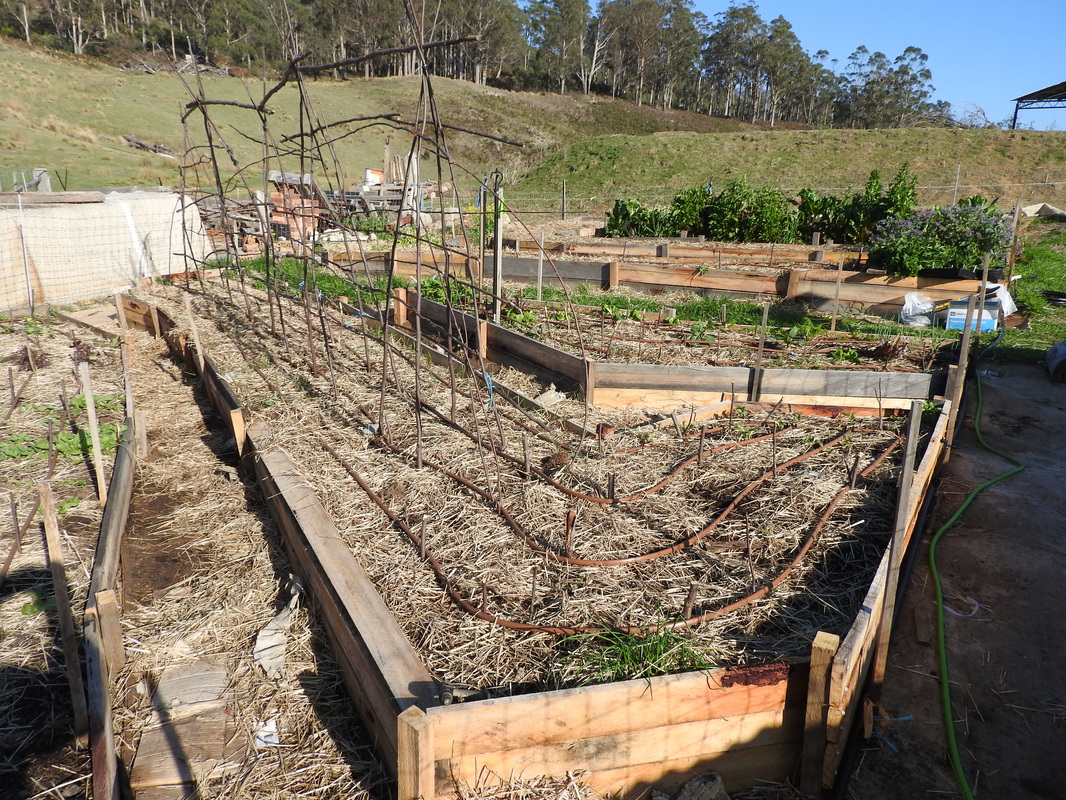
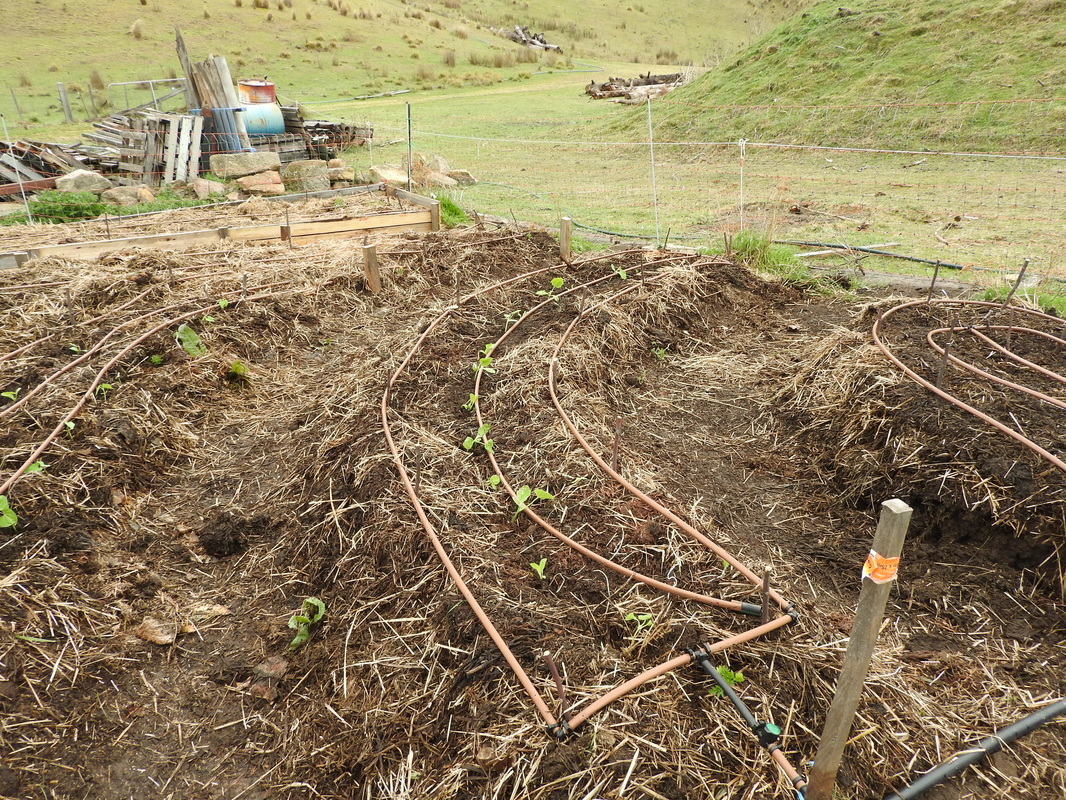
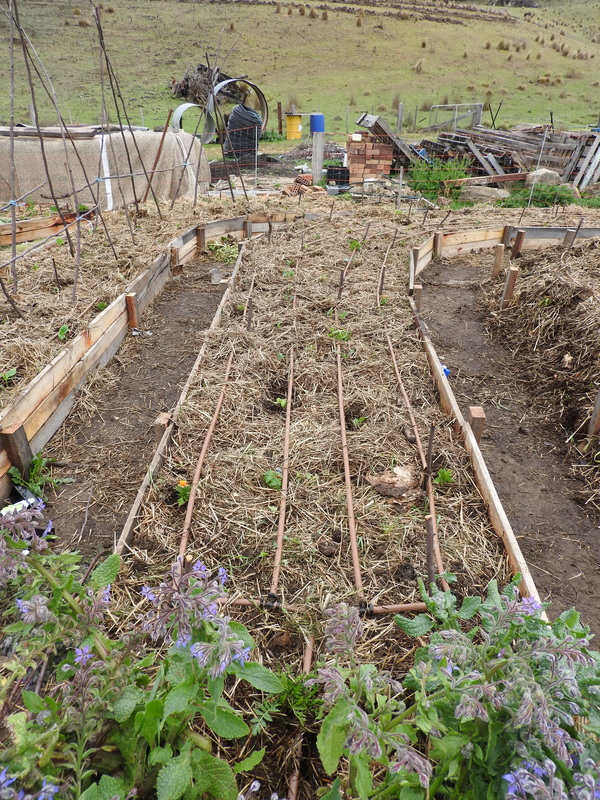
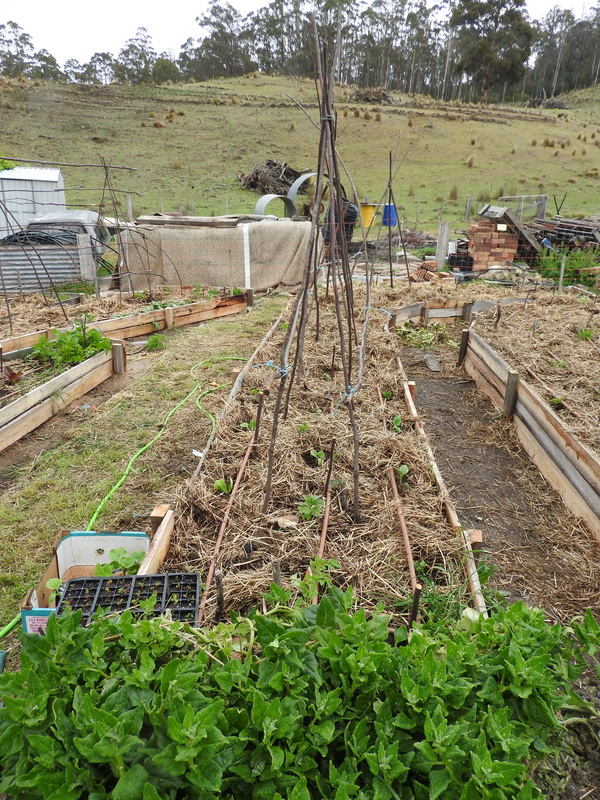
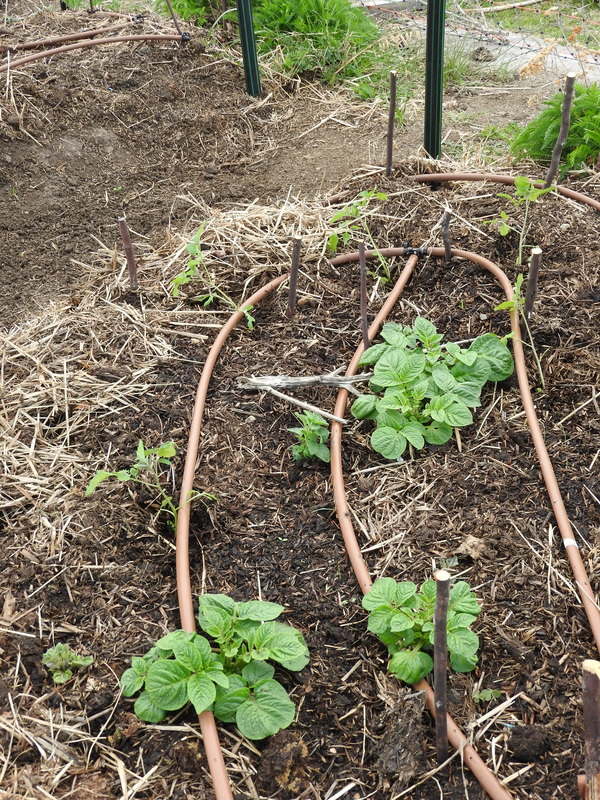
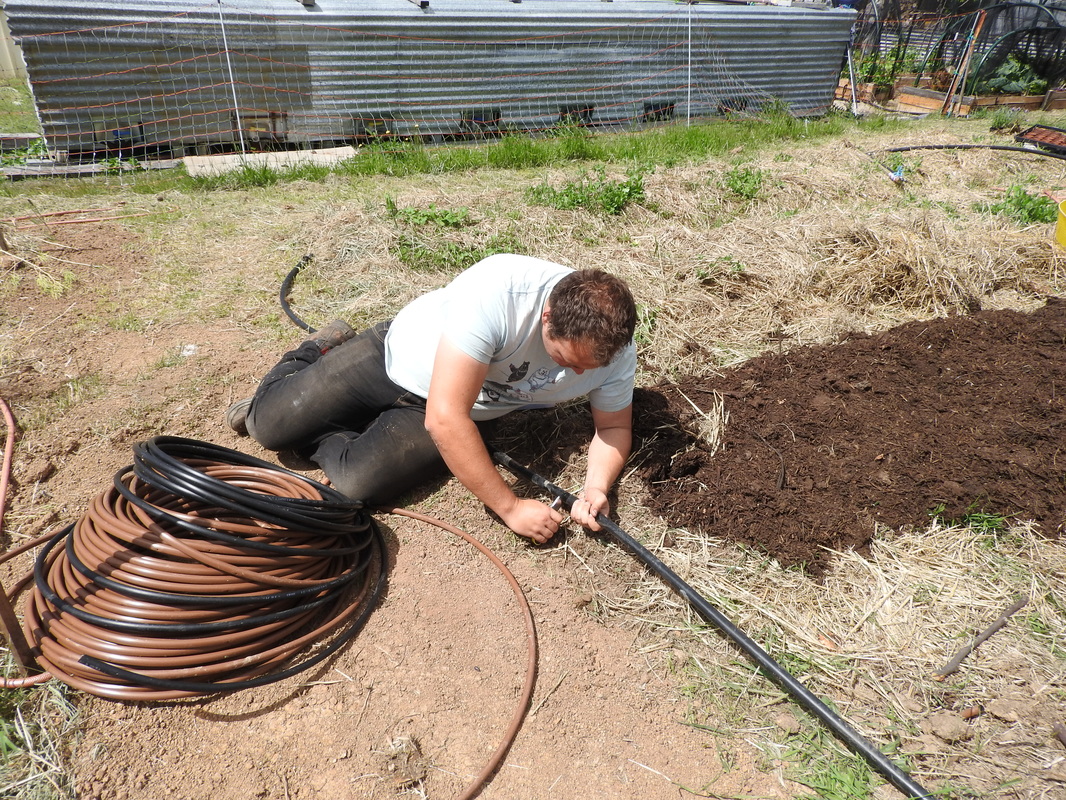
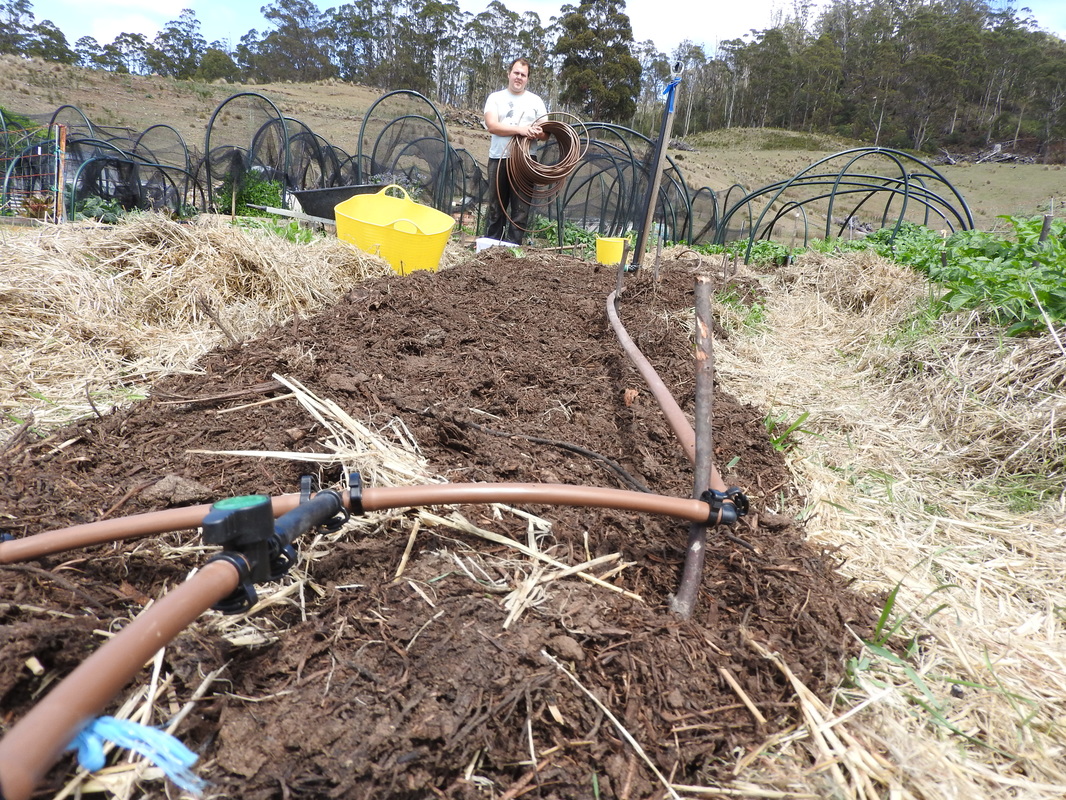
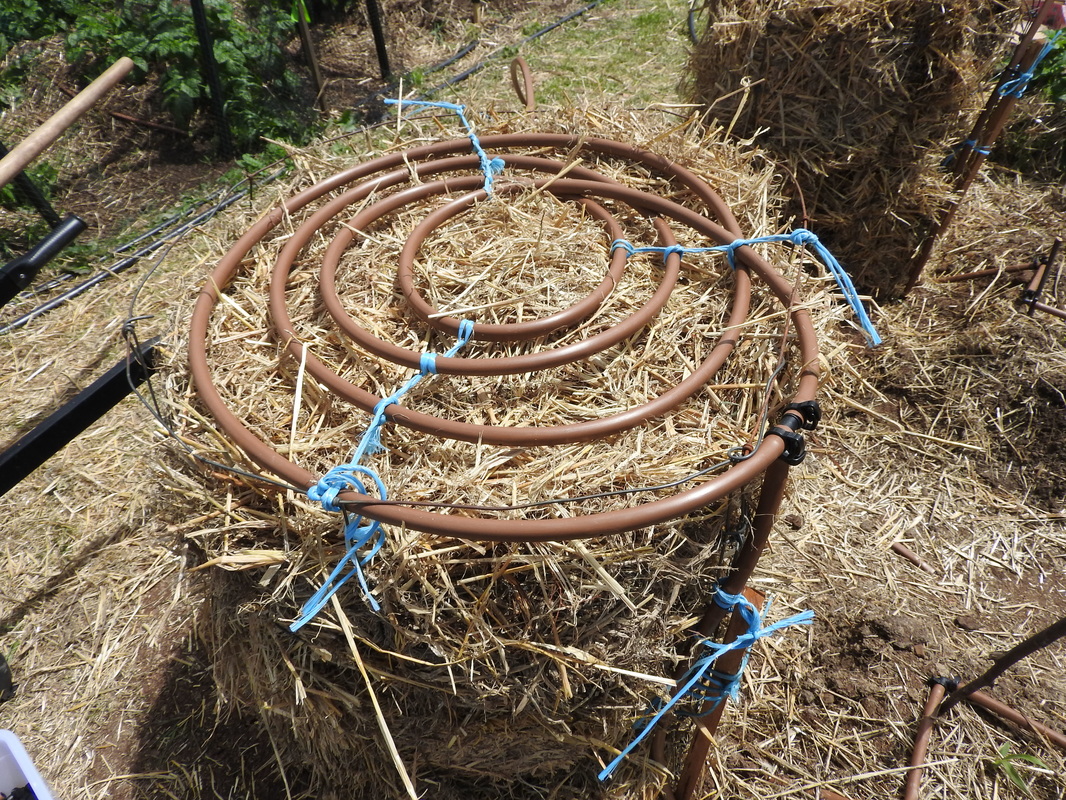
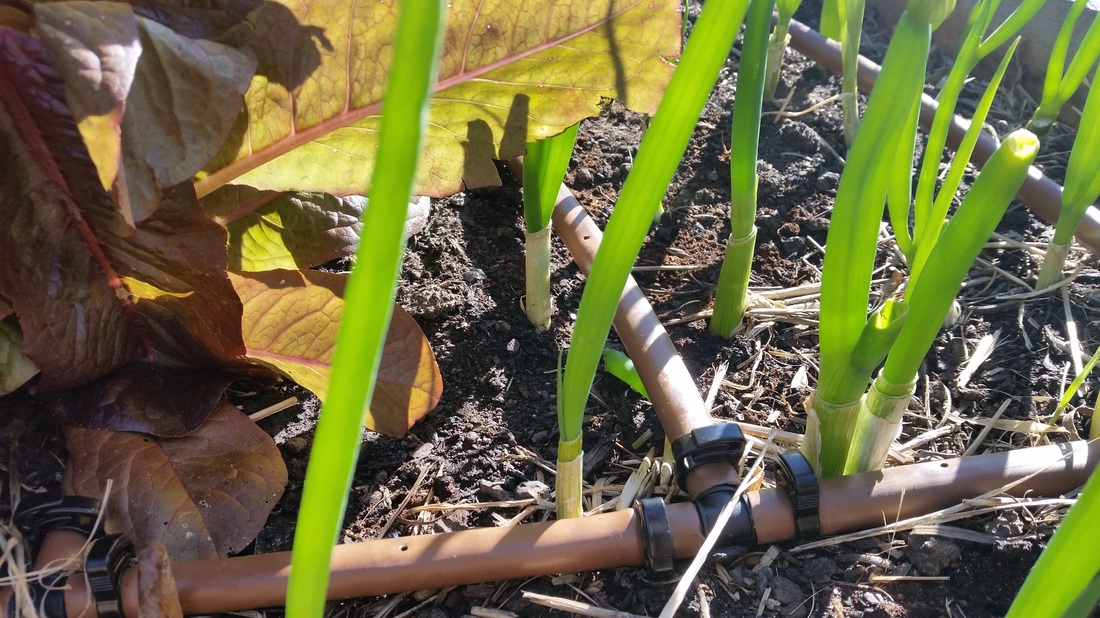
The main line from the dam is 63mm high density. It T’s off the main line into 25mm high density, into a timer and then into 25mm low density via a screen filter.25mm low density runs past each bed in the garden and T’s off into 12mm low density poly then into the Netafim drip irrigation. Each bed has its own individual tap to separate for specialize crops in the future. Grid sections were then laid out to create a circuit and at time can be broken for cleaning. The Netafim dripper supplies 2 liters per dripper per hour. I run each timer system for ½ hour daily. There are two automatic timer systems that water separately each of the garden systems to keep adequate pressure. There are also several junction points where a garden hose joins for hand watering with 30m hoses.
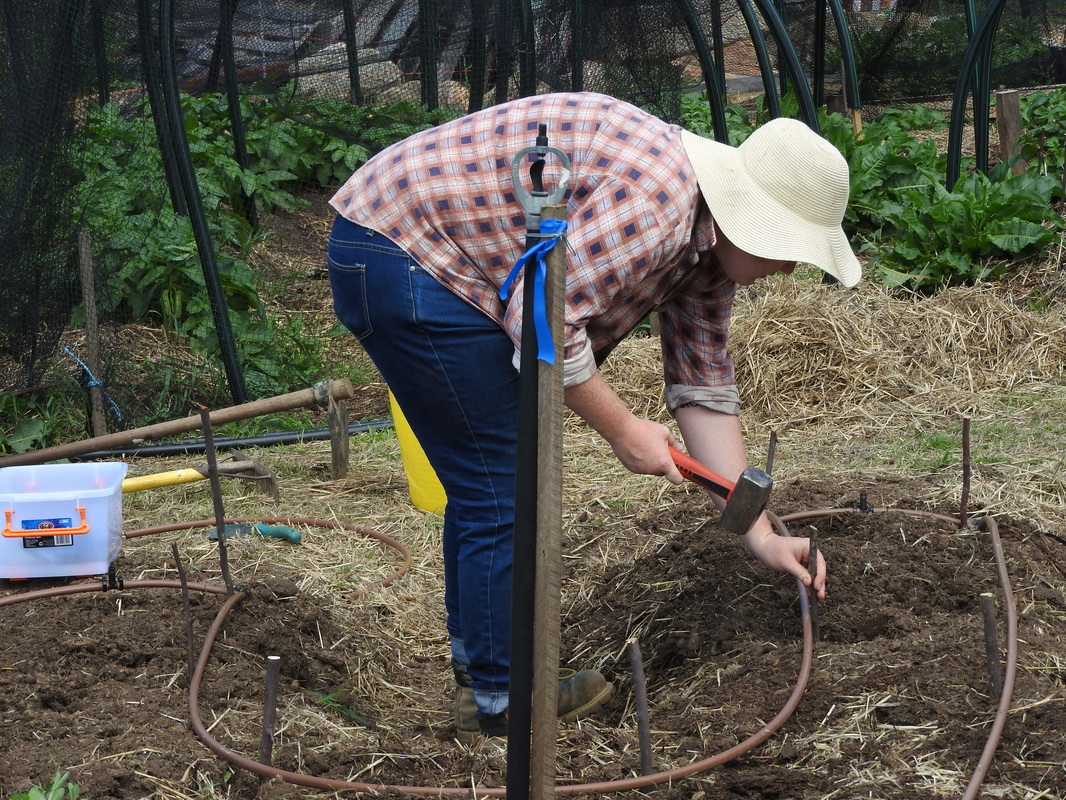
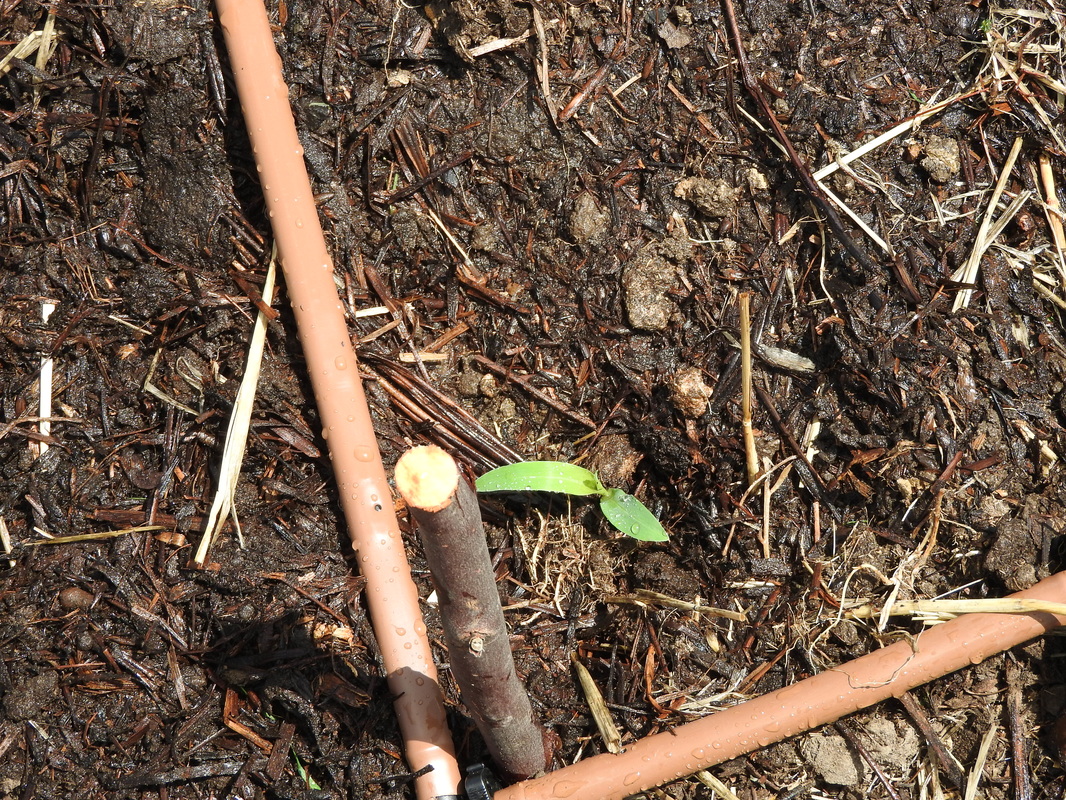
Doing this type of work is quite meditative and takes a fare bit of problem solving for the novice but having an idea of what plant spacing’s are required between rows is a good start to setting out. Armed with a small Stanley knife cutting and shutting the pipe to put drippers and the ends also takes a bit of measuring and unrolling can get frustrating so always have a few rocks and sticks on hand to hold the pipe down and separated and straight. All off cuts can be used as spacers.
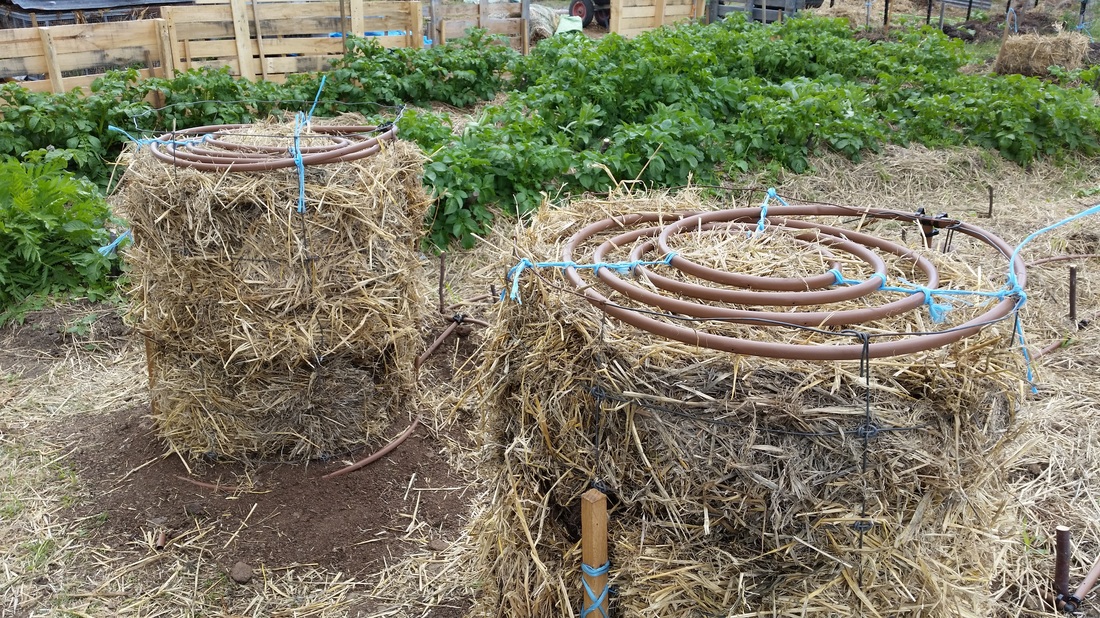
As the garden is expanding I will need to split the current system and put in another timer junction point to maintain pressure to several jet sprayer systems in a new area and the newly developed pumpkin patch. Much less labor to manage this now. The system is being monitored still for delivery rates and signs of wet paths is an indicator to turn the timer off for a day. In these areas, heavy feeding plants thrive.
With this readily available source tapped into it meant we could irrigate the kitchen garden, fill rainwater tanks during drier periods and assist with fire fighting when needed around infrastructure. It was also going to be possible to fill the dam once completed after the earthworks course.
As I work away to fund the project, there are periods when there is no one to manage the 250m2 kitchen garden and water the plants so I decided to make the whole system less labor intensive and make it possible to have a more successful and productive harvest from the garden. Plants weren’t getting their fill without a drink for 2 weeks at a time and aerial sprinklers were ineffective.
I started to plan out the plant spacing and garden bed lengths to then start pricing the materials. I found by buying 200m of Netafim drip irrigation at a time more cost effective than smaller quantities. Currently I am on the third 200m roll as the garden has been expanded considerably. The Netafim product comes in various diameters but I chose 12mm with dripper spaced at 300mm. I then had to consider how to join this all together. I started to search online for the best deals and found an irrigation supplier in NSW that could supply T, elbow, 90deg and clip fittings for about 1/3 of the price that Bunning’s or Mitre10. I ordered 400 pieces of the above fittings and 400 clips and surprisingly it amounted to less than $150 including postage. I also found that creating a trade account at the irrigation supplier, I was entitled to approx. 50% discount which makes it really affordable to implement this type of system. A valuable lesson learned is to have all the required resources on hand to complete a plan as well as surplus left over for maintenance and any tweaking of the system.
The main line from the dam is 63mm high density. It T’s off the main line into 25mm high density, into a timer and then into 25mm low density via a screen filter.25mm low density runs past each bed in the garden and T’s off into 12mm low density poly then into the Netafim drip irrigation. Each bed has its own individual tap to separate for specialize crops in the future. Grid sections were then laid out to create a circuit and at time can be broken for cleaning. The Netafim dripper supplies 2 liters per dripper per hour. I run each timer system for ½ hour daily. There are two automatic timer systems that water separately each of the garden systems to keep adequate pressure. There are also several junction points where a garden hose joins for hand watering with 30m hoses.
Doing this type of work is quite meditative and takes a fare bit of problem solving for the novice but having an idea of what plant spacing’s are required between rows is a good start to setting out. Armed with a small Stanley knife cutting and shutting the pipe to put drippers and the ends also takes a bit of measuring and unrolling can get frustrating so always have a few rocks and sticks on hand to hold the pipe down and separated and straight. All off cuts can be used as spacers.
As the garden is expanding I will need to split the current system and put in another timer junction point to maintain pressure to several jet sprayer systems in a new area and the newly developed pumpkin patch. Much less labor to manage this now. The system is being monitored still for delivery rates and signs of wet paths is an indicator to turn the timer off for a day. In these areas, heavy feeding plants thrive.